The term “dieline” is commonly used in the packaging and printing industry. It refers to a template that helps ensure the final physical package’s layout is correct. This template serves as a diagram, marking all the folds and cut lines of a package in its flattened form. Die lines are an important tool for any packaging designer. They provide a template for how the final product should be cut and assembled. Dielines are often created by graphic designers, die cutters, or printers and are used in the production of many types of packages, such as pocket folders, envelopes, and boxes.
Dielines are an important part of the design process, as they indicate where the printer should make cuts and perforations. Usually, dielines are located on different layers and as different colors, so that the printer knows which process to perform first. In the end, the printer will usually perform the cutting and perforation processes in two different stages.
The Importance of Dielines
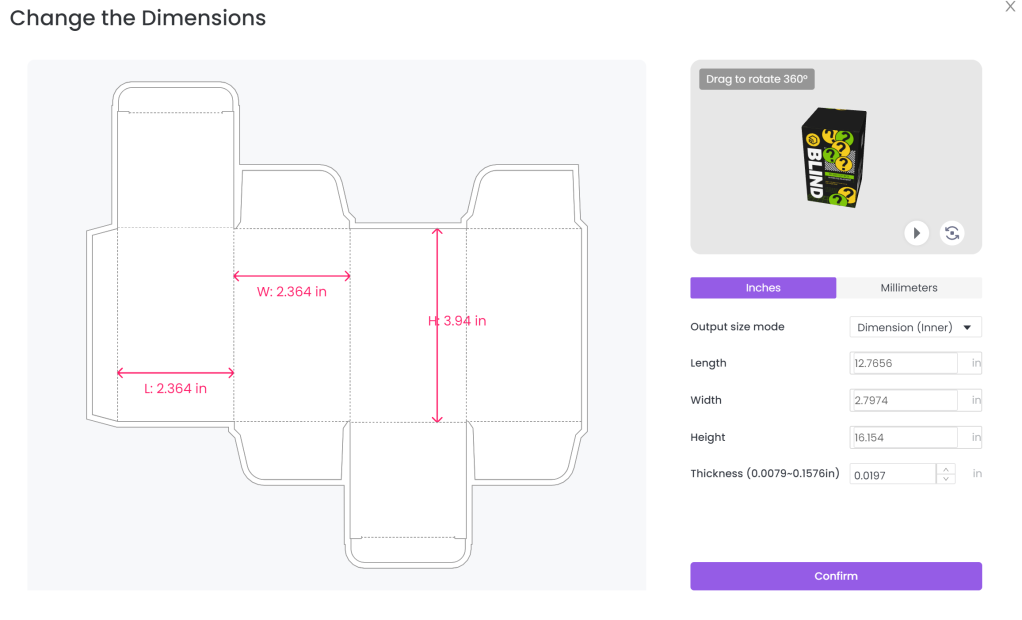
Dielines are like templates for artwork and play a major role in the die-cutting process. They help ensure that all physical elements in the final product are in the right place, like logos, text, and images. They also show placement of creases, cutlines, glue tabs, eye marks, folds, and other connection points.
Designers often use dielines to help them visualize how a product will look once it is assembled. To create a dieline, designers simply take a box of cereal or crackers and flatten it out. By doing this, they can see where all the creases, folds, and other visual elements coordinate with each other on the box’s sides, front and back.
However, dielines aren’t just for boxes or square packages. You’ll see them a lot in things like beverage containers, booklets, food packaging, and any other product that needs custom-made packaging.
Types of Lines in Dielines
There are three types of lines that marked by designers in Dielines
- A dotted perforation line
- A cut line
- A fold line
Packaging design can be a tricky process, but dielines can help make it a little easier. Dieslines are like guidelines for the printer, telling it where to make cuts and perforations so that the package can be assembled correctly. Usually, the perforation lines and cutting lines will appear on different layers in the design, each in a different color. This helps the printer know which parts need to be trimmed and which parts need to be folded separately.
Of course, all of this happens in stages – first the printer takes care of the perforations, then the cutting. But following a dieline can help ensure that your packaging turns out looking just the way you want it to.
How to Make the Dieline You Want

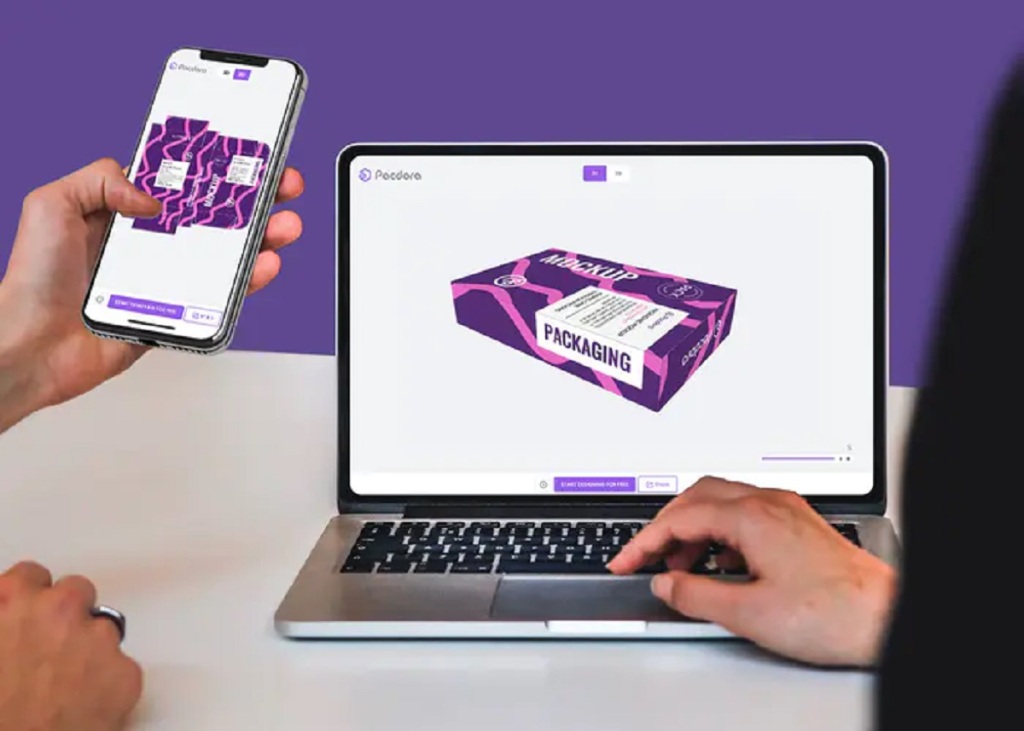
The process of creating dielines from scratch can be challenging at first, but it gets easier with time and practice. A good place to start is by finding a box that resembles the one you’re designing. Unfold the tabs, flatten the box, and measure it. These measurements will be the basis for creating your own dielines. However this can be tricky as well because you also need to design the dieline and customize the size of it on your desiging tool. That’s why it’s essential to use some free to use packaging design tool online like Pacdora. It allows you to choose your ideal dieline models and further edit it based on your needs. Besides, the 3D view provided by Pacdora definitely makes your desiging process easier and handy. You don’t need to worry about the dieline desiging would go wrong. Than it can be downloaded in different format like AI.
Before you can create your own dielines, you’ll need to have a good idea of the overall look and size of the package you want. To do this, you can find a box or package on Pacdora that resembles the one you want and measure it. Once you have your measurements, you can begin creating your own dielines.
When you’re ready to print your packaging, it’s always a good idea to send an example of your final packaging to the company that will be printing it. This way, they can get a better idea of what you’re looking for.
When you have your measurements, it’s time to design your product. Printers often use graphic design software like Adobe Illustrator, but there are several other tools like Pacdora that work just as well. Obviously, if you’re already familiar with a specific graphic design tool, you can use that one. But if you’re new to the whole process, don’t worry – there are plenty of options out there, and all of them are powerful in their own way.
The Essentials for Creating Dielines
Computers require mathematically described lines in order to function; As a result, dielines must be created as vector art in order to be properly read and used.
When building a dieline, specifications are key and should be adhered to as closely as possible. For best results, designers should use Artioscad or Adobe Illustrator first to know the exact size and shape of the file before placing it into an InDesign document. While this extra step may seem time-consuming, it will actually save you money and time in the long run by avoiding potential errors. Sure one can start by using simple designging tool like Pacdora to complete dielines.
Additionally, although it is not entirely necessary, inexperienced designers might want to make a hard copy of the dieline before sending the design to print. This additional stage can help catch any unforeseen errors before production begins.
Lastly, the dieline is the map of your project’s journey from beginning to end. It’s important to include your whole team in the creation process from the very start to avoid any costly mistakes down the line. And just like with any journey, it’s always good to have more than one set of eyes looking out for possible roadblocks.

Leave a comment